26. 使用web展示爬取信息
26.1 创建项目myweb和应用web
    # 创建项目框架myweb
    $ django-admin startproject myweb

    $ cd myweb

    # 在项目中创建一个web应用
    $ python3 manage.py startapp web

    # 创建模板目录
    $ mkdir templates
    $ mkdir templates/web

    $ cd ..

    $ tree myweb

    myweb
    ├── myweb
    │   ├── __init__.py
    │   ├── settings.py
    │   ├── urls.py
    │   └── wsgi.py
    ├── manage.py
    ├── web
    │   ├── admin.py
    │   ├── apps.py
    │   ├── __init__.py
    │   ├── models.py
    │   ├── tests.py
    │   └── views.py
    └── templates
        └── web
26.2 执行数据库连接配置,网站配置
- ① 编辑myweb/web/init.py文件,添加Pymysql的数据库操作支持
import pymysql
pymysql.install_as_MySQLdb()
- ② 编辑myweb/web/settings.py文件,配置数据库连接
...
ALLOWED_HOSTS = ['*']
...
INSTALLED_APPS = [
'django.contrib.admin',
'django.contrib.auth',
'django.contrib.contenttypes',
'django.contrib.sessions',
'django.contrib.messages',
'django.contrib.staticfiles',
'web',
]
...
TEMPLATES = [
{
'BACKEND': 'django.template.backends.django.DjangoTemplates',
'DIRS': [os.path.join(BASE_DIR,'templates')],
'APP_DIRS': True,
'OPTIONS': {
'context_processors': [
'django.template.context_processors.debug',
'django.template.context_processors.request',
'django.contrib.auth.context_processors.auth',
'django.contrib.messages.context_processors.messages',
],
},
},
]
...
DATABASES = {
'default': {
'ENGINE': 'django.db.backends.mysql',
'NAME': 'doubandb',
'USER': 'root',
'PASSWORD': '',
'HOST': 'localhost',
'PORT': '3306',
}
...
26.3 定义Model类
from django.db import models
class Books(models.Model):
title = models.CharField(max_length=255)
author = models.CharField(max_length=64)
press = models.CharField(max_length=255)
original = models.CharField(max_length=255)
translator = models.CharField(max_length=128)
imprint = models.CharField(max_length=128)
pages = models.IntegerField(default=0)
price = models.FloatField()
binding = models.CharField(max_length=32)
series = models.CharField(max_length=128)
isbn = models.CharField(max_length=128)
score = models.CharField(max_length=128)
number = models.IntegerField(default=0)
class Meta:
db_table = "books"
26.4 URL路由配置:
- 编辑 myweb/myweb/urls.py 根路由配置文件:
from django.conf.urls import url,include

urlpatterns = [
    url(r'^',include('web.urls')),
]
- 创建web子路由文件:myweb/web/urls.py 并编写代码如下:
from django.conf.urls import url

from . import views

urlpatterns = [
    url(r'^$', views.index, name="index"),
    url(r'^/$', views.index, name="index"),
]
26.5 编写视图处理文件
- 编辑视图文件:myweb/web/views.py
from django.shortcuts import render
from django.core.paginator import Paginator
from web.models import Books
def index(request):
mod = Books.objects
list = mod.filter()
pIndex = int(request.GET.get("p",1))
page = Paginator(list,50)
maxpages = page.num_pages
if pIndex > maxpages:
pIndex = maxpages
if pIndex < 1:
pIndex = 1
list2 = page.page(pIndex)
plist = page.page_range
context = {"booklist":list2,'plist':plist,'pIndex':pIndex,'maxpages':maxpages}
return render(request,"web/index.html",context)
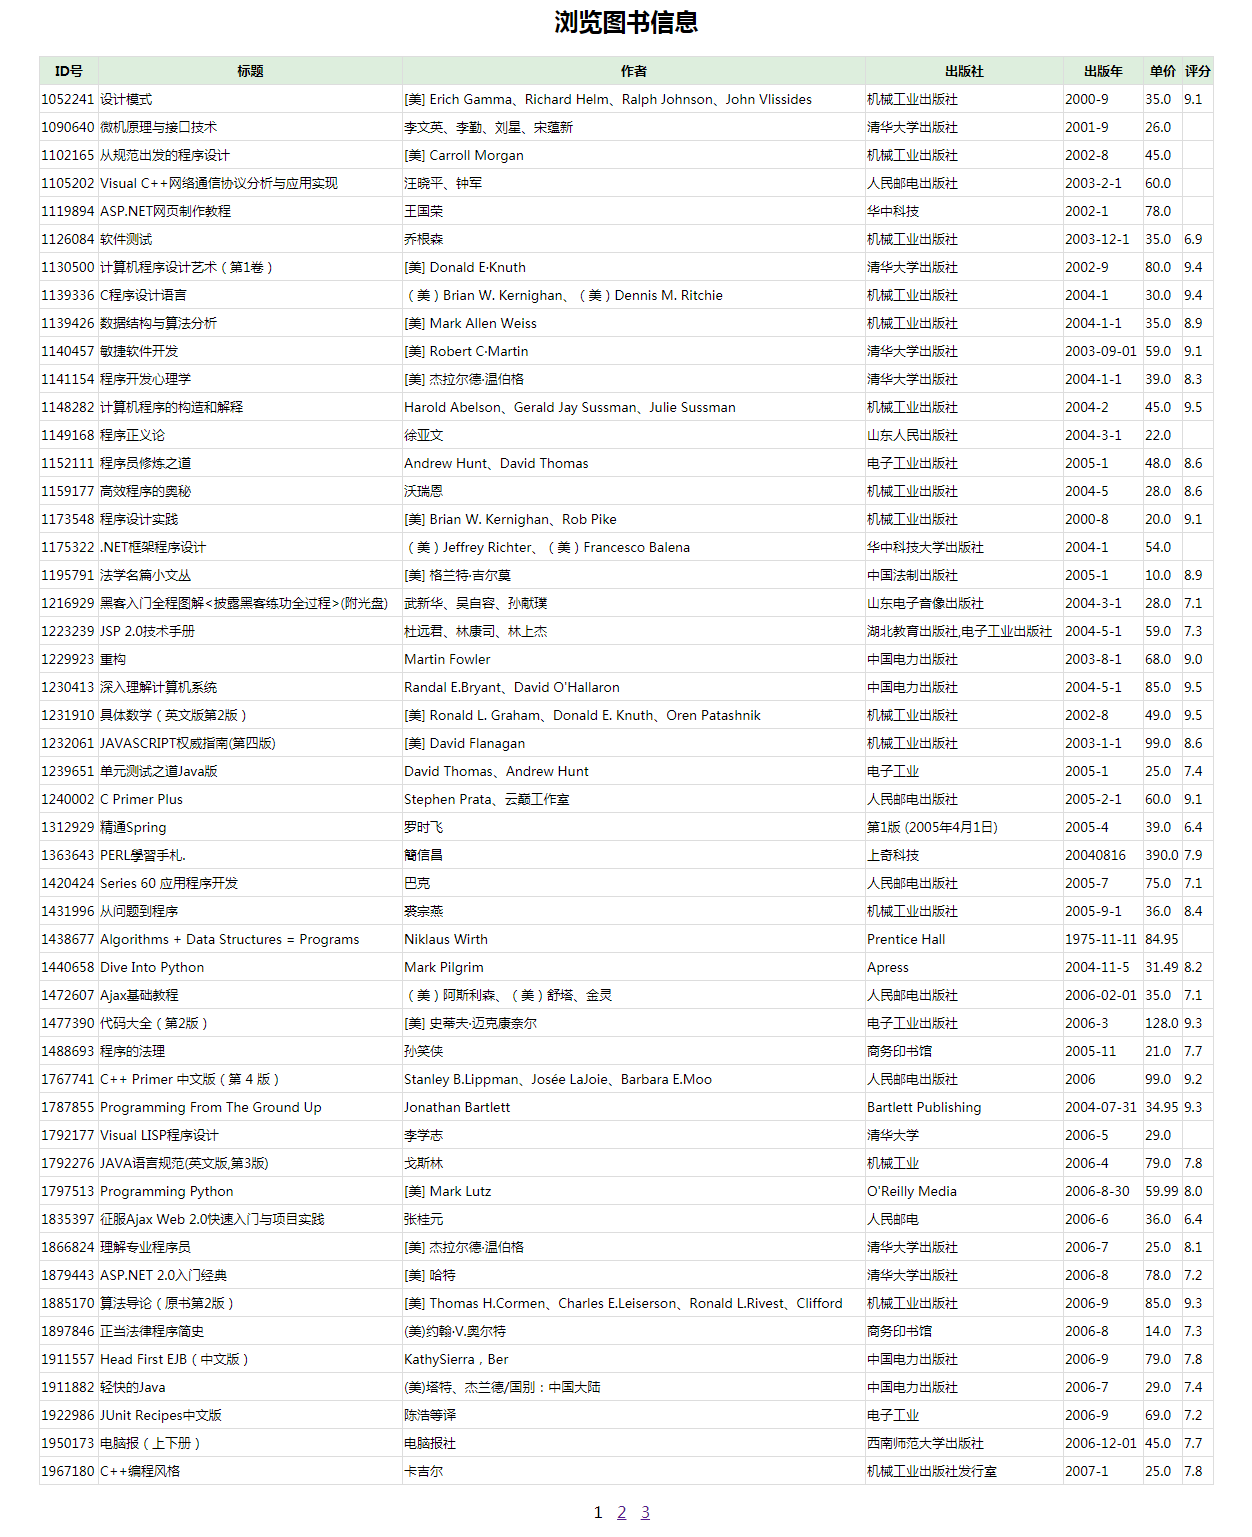
26.5 编写模板输出文件
<!DOCTYPE html>
<html>
<head>
<meta charset="utf-8">
<title>浏览图书信息</title>
<style type="text/css">
table{font-size:13px;line-height:25px;border-collapse: collapse;}
table,table tr th, table tr td { border:1px solid #dddddd; }
</style>
</head>
<body>
<center>
<h2>浏览图书信息</h2>
<table width="95%">
<tr style="background-color:#ddeedd;">
<th>ID号</th>
<th>标题</th>
<th>作者</th>
<th>出版社</th>
<th>出版年</th>
<th>单价</th>
<th>评分</th>
</tr>
{% for book in booklist %}
<tr>
<td>{{ book.id }}</td>
<td>{{ book.title }}</td>
<td>{{ book.author }}</td>
<td>{{ book.press }}</td>
<td>{{ book.imprint }}</td>
<td>{{ book.price }}</td>
<td>{{ book.score }}</td>
</tr>
{% endfor %}
</table>
<p>
{% for pindex in plist %}
{% if pIndex == pindex %}
{{pindex}}
{% else %}
<a href="{% url 'index'%}?p={{ pindex }}">{{ pindex }}</a>
{% endif %}
{% endfor %}
</center>
</body>
</html>
26.6 启动服务测试:
  $ python manage.py runserver

  使用浏览器访问测试
26.7 作业:
- 当数据很多时,请问如何实现百度的页面显示效果? 如:上一页 ... 10,11,12,13,14,15,16,17,18 ... 下一页